Table of contents
No headings in the article.
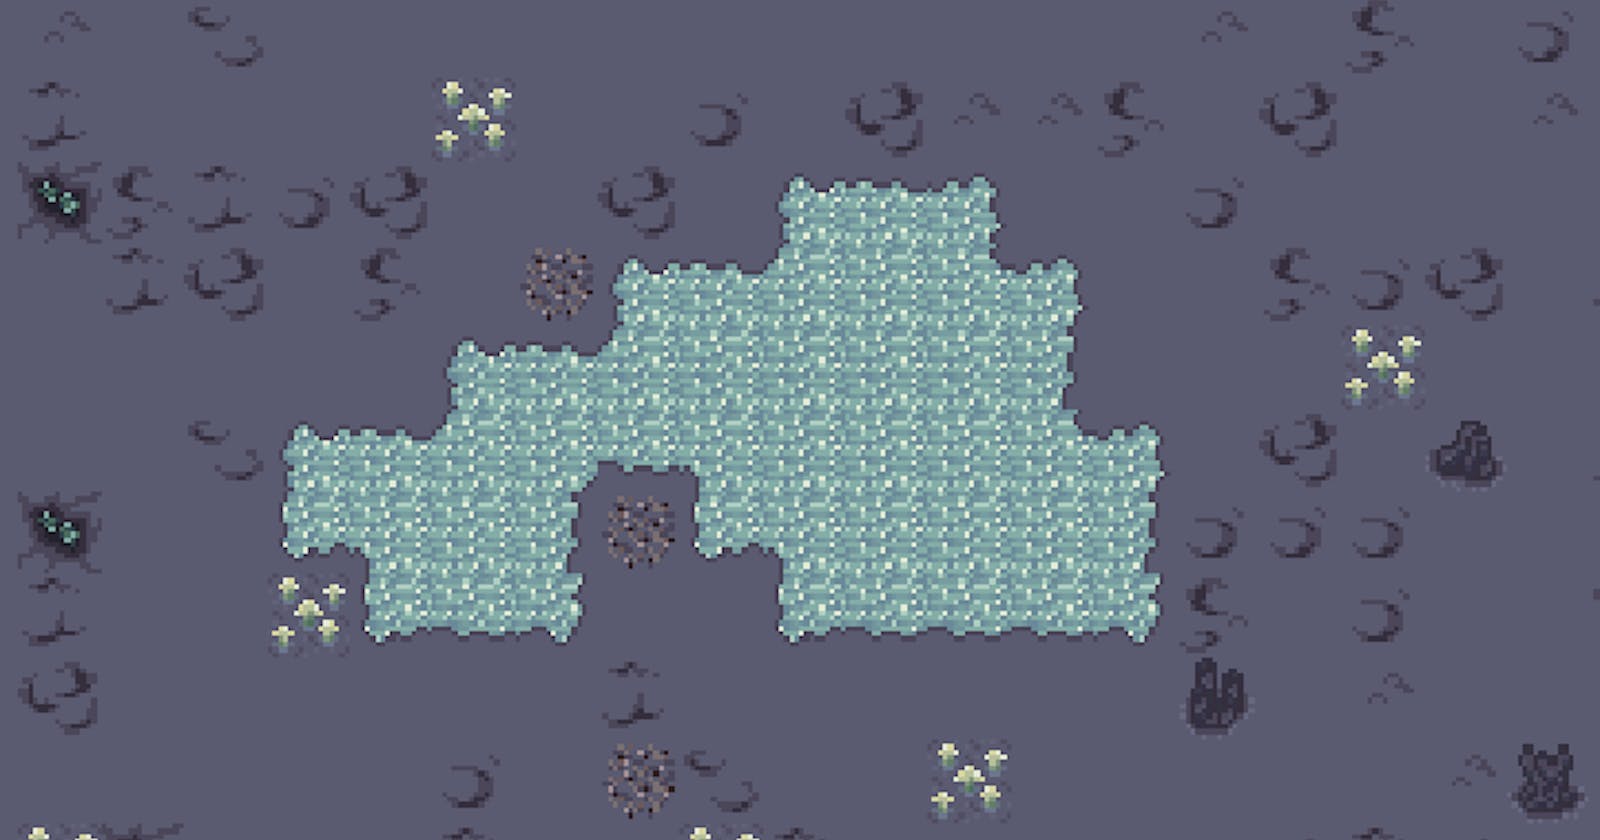
A whole new world indeed! This devlog explores a major transformation of the game through new world generation and visual effects. The last devlog allowed for some of the initial work to be completed such as updating lighting and creating assets for new terrain features. Now, these items can be leveraged to design a world that feels alive (but also unalive).
Planning
Since the beginning of the game’s development, the idea of having a ring-esque world design was always planned. This design will hopefully bring a unique gameplay experience that creates an interesting dynamic between the player and the world. Here are just some of the items that this new world design should accomplish:
- The player can travel in any direction - it’s a pseudo open world design without being overly complex. If one particular area is not ideal, then they can always travel in a different direction.
- The player is naturally challenged to travel further and further. When starting, they may only be able to go a few spaces out before retreating back to the light. This encourages progression in order to see how far they can go. It’s kind of a roguelite setup while still allowing for the world to be shaped by the player.
- It makes it easier as a game designer to stretch out progression without being severely limited.
With each ring, the distance traveled to reach the next outer ring should increase. For the first ring, the tile distance should range about 50 tiles. It’s enough to feel complete and challenging without being too large as we still want the player to progress in reasonable time. For the second ring then, the tile distance should extend roughly 100 tiles. This is twice as large as the first ring, encouraging the player to use new resources and objects beyond their established strategies. From there, I plan to make the third/final ring about 200 tiles out. By that point, the player will be able to enter the late stages of the game and expand their operations as needed.
Remaining Setup
Between the rings, there should be a few tiles that clearly show the division. At a later point, a bridge-esque object will be added into the game that the player can use to travel to new rings. The design is super basic as it should stick out to the player as a sort of “boundary” object:
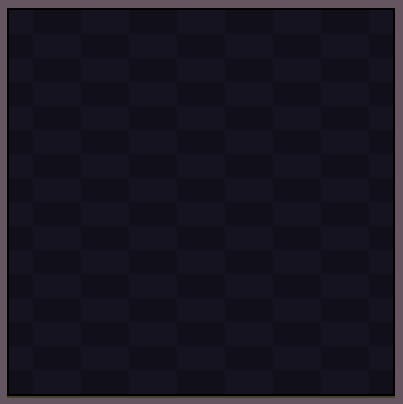
Plain, unexpected, and hard to see? Awesome, that was the goal!
With this “void tile” created, the only item left beyond importing the assets into the editor is creating a moveable camera scene. The camera currently follows the player, meaning that all of the new world generation will only be viewable as the player moves around. For testing purposes, we need a new camera that can be navigated with the mouse in order to have a better idea of how the world is formed. Rather than reinvent the wheel for a feature that is only used for testing, I referenced the following tutorial:
A little magic here and there….and….there we go! A controllable camera!
New World Generation (Finally!)
As with everything in Godot, all features simply become a bunch of nodes and scenes. For this new world generation, a new scene is created with several tilemaps in one. While every potential tile could be piled into one tilemap, I have found the current editor to be a little clunky when making edits. If I need to make changes to a certain tile in the future, I would prefer to only deal with tilemaps that have 1-9 tiles total. That way, if one of the tiles is incorrectly numbered or does not align properly, I can avoid touching the entire generation system. Here is a top level view of this MapGenerator scene containing all of the tilemaps:
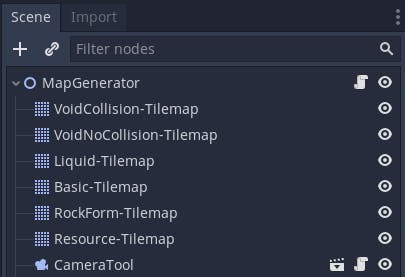
You may notice that the void tilemap has two entries - one with collision and one without. This does not come into play initially for world generation, but will be relevant when bridge pieces are made later on. Essentially, a unique workaround is being used to turn collisions off and on as doing this on specific tiles in a single tilemap becomes a bit tricky to manage. A similar workaround will be used on the other “liquid” tiles as well - just ignore the collision/no-collision for now though!
With these tilemaps in place, we can focus on the core logic of generation. The first thought is always to go through each tile separately and determine what type it should be in one “sweep.” This is difficult to code however, in which I chose to split out tile types by function and work through a list of “generation sweeps.”
First, we need to generate a filled-in circle of basic tiles. Until we set up an interface for the player to create a seed, a default value is needed. This seed is leveraged to determine which basic tiles are selected so that the generation is more interesting. As part of this step, a perlin noise map is used to create “blotches” throughout the map. Based on a certain radius distance, a certain liquid tilemap is referenced to fill in that blotch. This ensures that only certain kinds of lakes or pools show up within each ring. Here is the first sweep result:
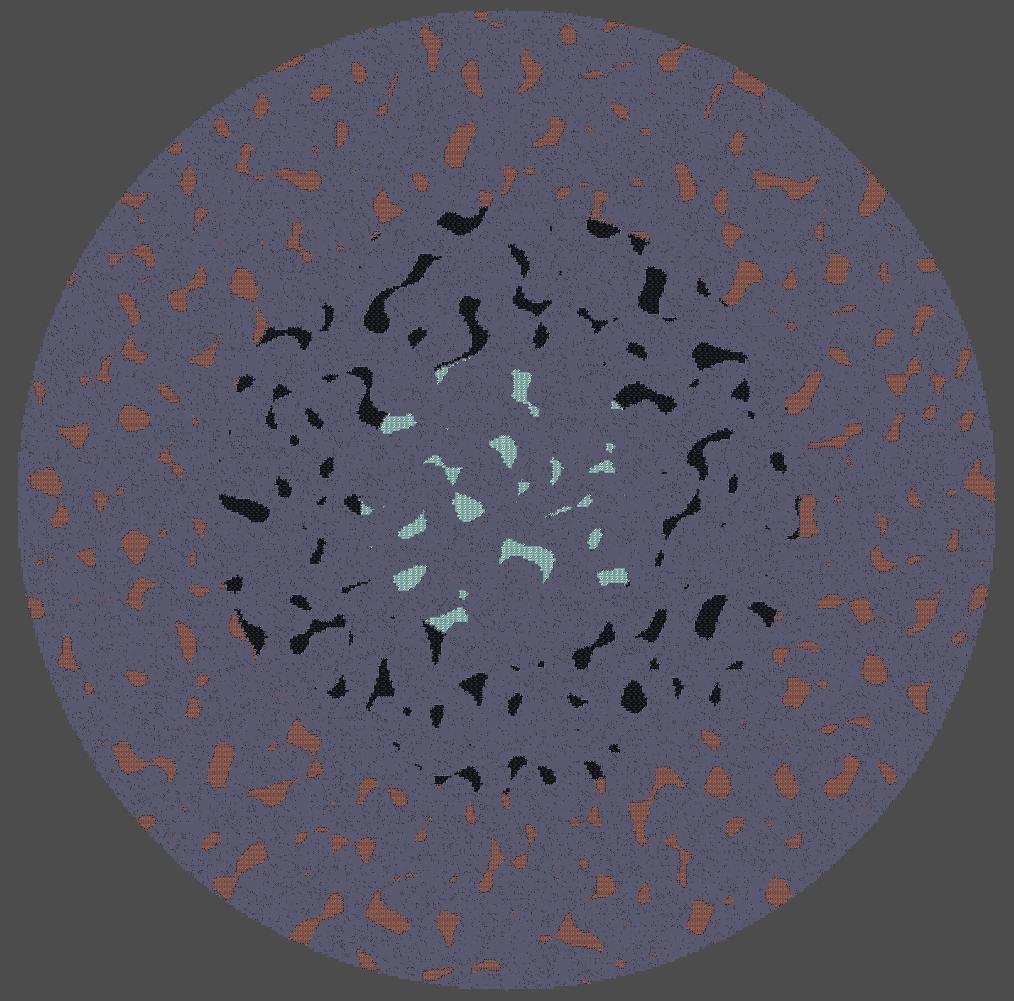
From this point, features are added to this terrain, meaning that tiles need to be removed before new ones are added (to avoid stacked tiles). This is achieved through a basic function that is given a tile coord and then removes any potential tiles there from every tilemap.
Using this function, we can loop back through the entire map to set up void rings. Similar to using radius values to determine what liquid tile types should be placed, we use radius min and max values for each void ring.
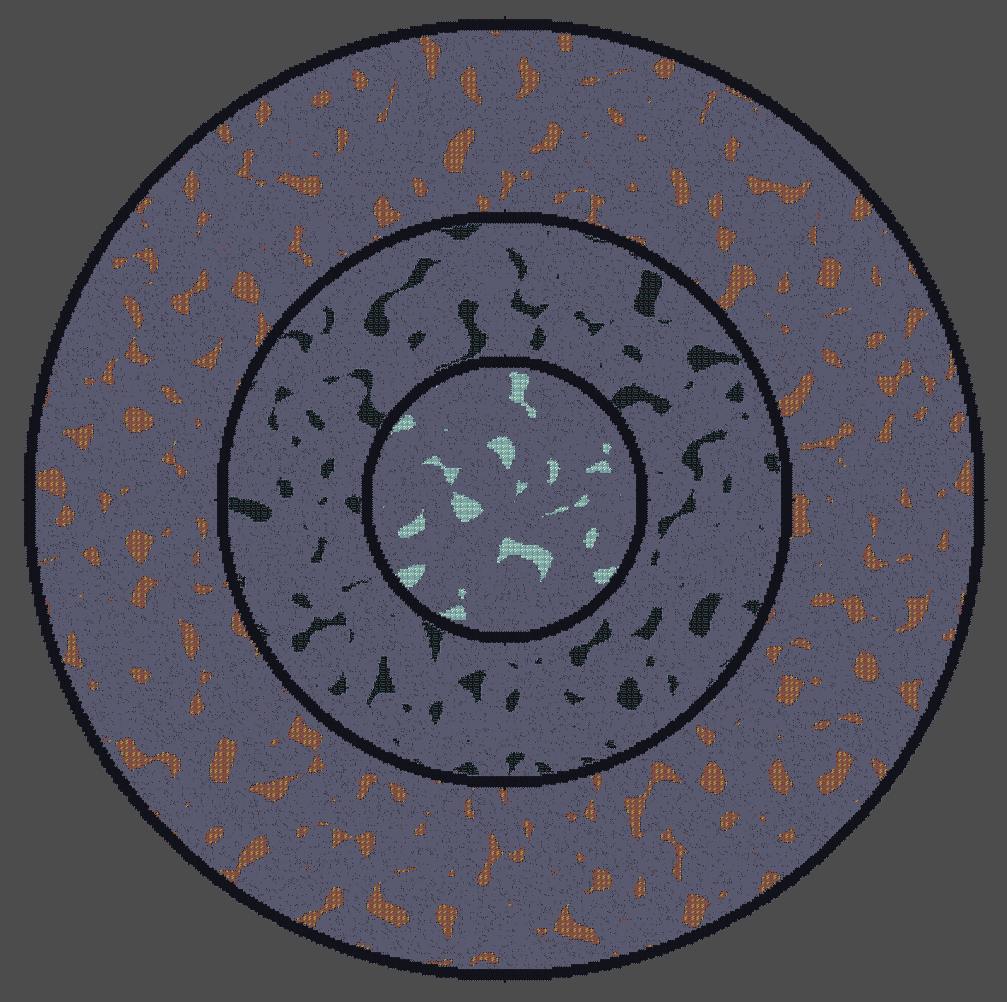
Next up is adding in the resource and rock formation tiles. These functions leverage both the seed value and radius values to determine tile type and place them in a randomized fashion throughout the map. By this point, the base world generation is nearly complete.
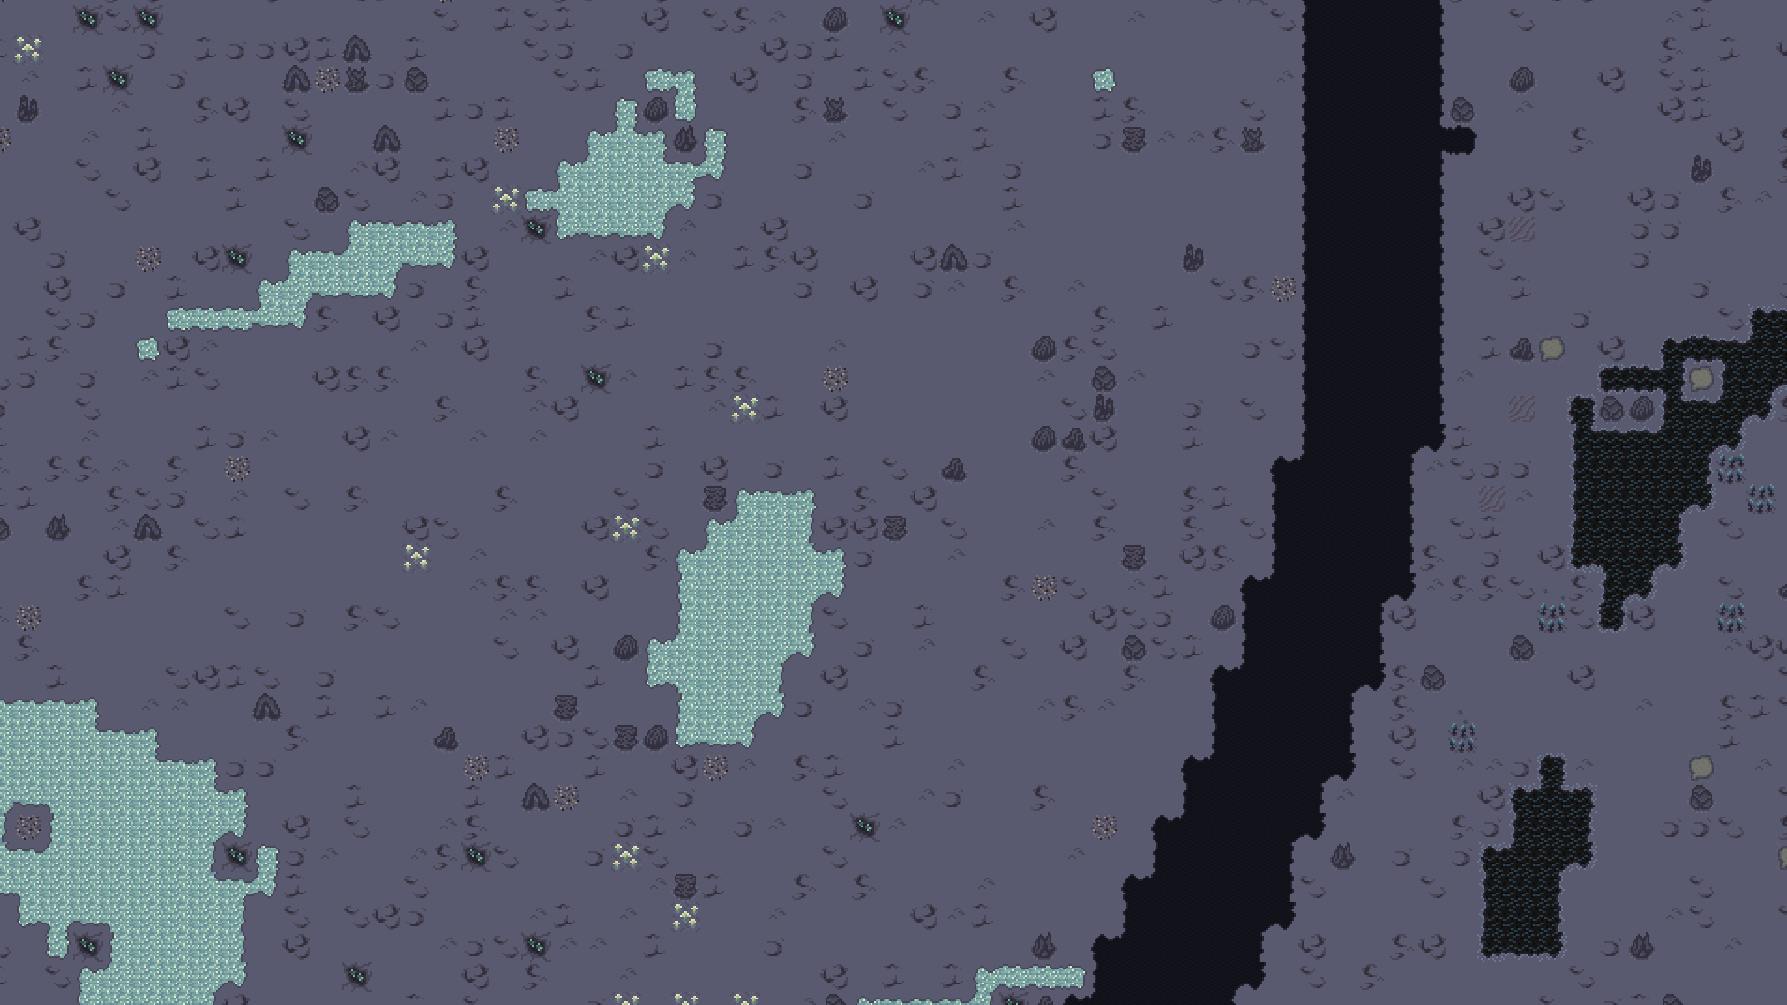
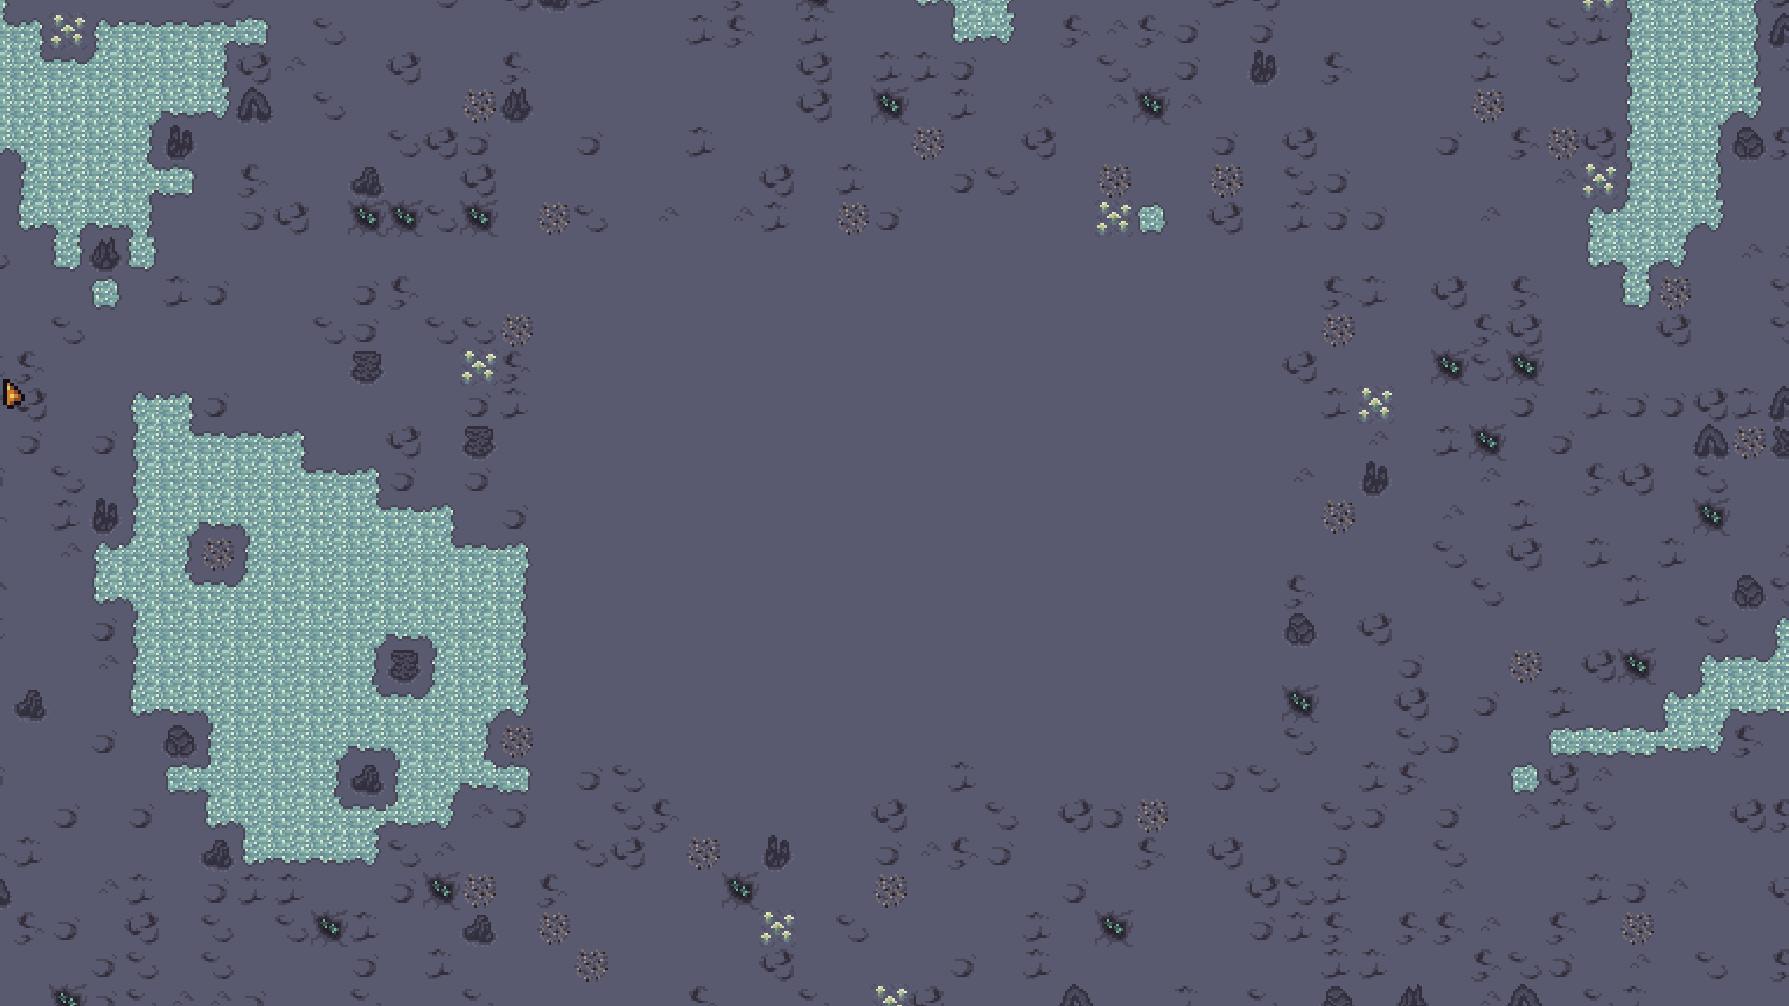
One small touch to add is clearing out a small rectangular region near the center. Having a random river running through the front of tents and blocking the player would not be an ideal gameplay experience. This uses another function to replace all of the tiles near the center with a plain basic tile. The terrain could certainly use more “spice” since it’s the main area, but for now we’ll keep it blank.
Final Touches
The new world generation is incredible! At the same time, it feels a bit static. Some motion and visual flairs are needed to make this world feel more alive to the player. Since the resource tiles are a core part of gameplay that the player is constantly seeking out, they are the prime candidates for adding some new visual elements.
We already did this a bit with the sparkshroom tiles that glow in the world. Interestingly enough, that glow element is actually tied to the seed now. This gives it a more random “spark” vibe to it rather than a glow that consistently fades in and out.
For now, we can check out visual improvements to three other resource tiles (one per ring). Starting with the ore tile, this classic look features crystal-esque objects within a small crevice. To make these more appealing, a shine effect can be applied like so:
This is achieved by applying a white pixel with a reduced alpha value over 2-3 pixels in the top left corner. From there, that line moves across the crystals until reaching the opposite corner. In terms of applying this effect to the world, we can establish a timer that continually picks out random tiles in the tilemap to overlay the effect.
Next up is the “Sporebell” resource tile. Yup, there is more vegetation beyond Sparkshrooms! This tile is found throughout the second ring and as the name implies, it shoots out spores/puffs periodically. Instead of an animated tile, we can use particle effects to create the spores. For the design of the particle, the “head” of the Sporebell blossom is rotated, slightly recolored, and then painted with the blur tool. It creates this neat transparent effect that fades more evenly outside of individually changing alpha values on each pixel. In Godot, this particle is set up to float upwards in a curved motion. I would like to improve the effect more such as adding more horizontal “swing,” but this should do the trick for now!
Finally, we have the “geyser” resource tile. The name is still pending as it doesn’t quite capture the intended effect, but this tile should have air/steam quickly blowing out. This is also done with a particle effect, in which most of the magic comes from the particle settings rather than the design of the particle. We can actually leverage 3 particles at once and then configure different lifetime values. While all of the particles will go slightly up, this setting only allows some of the particles to go higher up. This creates both a fading effect near the top and a forceful burst from the ground. Here is the final result:
To keep things mysterious, the remaining tiles will be shown off in more detail at a later point. Hopefully you enjoyed seeing this massive update!
What’s Next?
The core gameplay experience is really coming together - it’s exciting, atmospheric, and engaging! To achieve a functional build state though, one crucial piece remains….a main menu! The next few devlogs will focus on this work, attempting to mix in some other neat elements to keep it interesting :)
Thank you as always for your support! If you are enjoying these updates, please consider liking and sharing this post. The more visibility and feedback this game gets, the better the final product will be!

